Dragons
Kia ora Class Four on this stunning day- another one!
Hope you all had a wonderful Mother's day. I certainly did and I still feel the warmth and the good vibes hanging in the air around our home. It feels so nice to be loved and appreciated. I must make sure that when I feel genuine love and appreciation for others to let them know- we don't have to wait for special days to share the light.
At school, Bubble Gum had to move into our Class Four classroom last week, due to the toilets being repaired which involved sledge hammers and that sort of thing. Not great to be trying to learn something beside that, so we moved into the sanctuary of Class 4. It felt SO good to be back in our own classroom, James and I felt as if we had come home. It also made me miss you a lot- bubble Gum is fun, but nothing like our own circle with familiar faces.
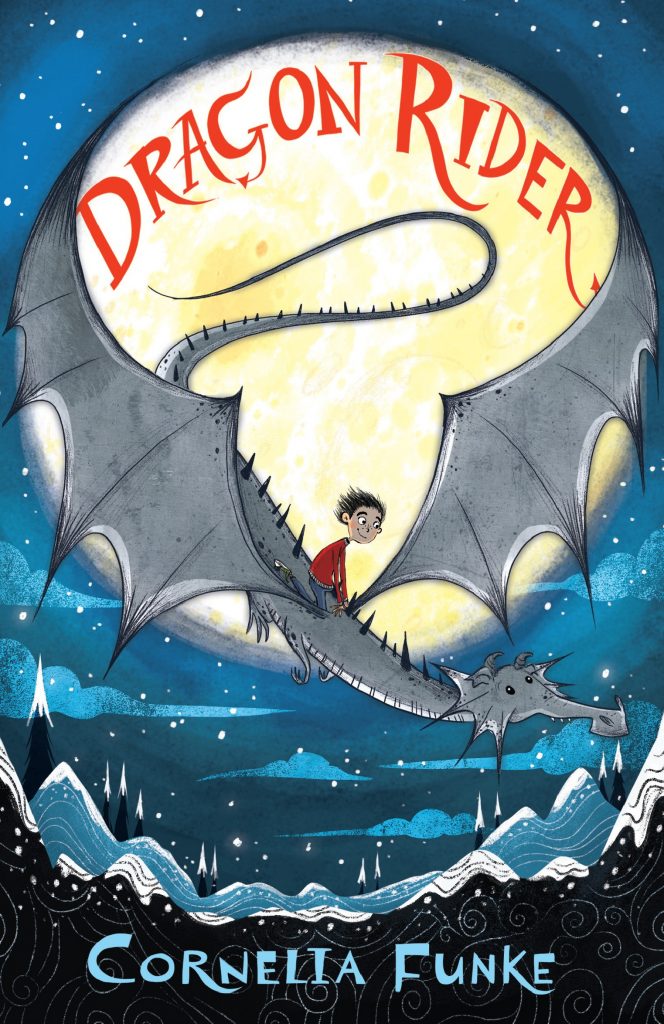
I also saw this on my desk- remember?

No novel has ever taken us as long as this one! Fingers crossed we will be back at school soon and get ready for LOTS of Dragon Rider.
Anyway, seeing the book got my juices flowing for today's task. It's quite a lot, but you're going to love it.
Below is a tutorial on how to draw a Dragon's head. Give yourself a few practices and remember to sketch the first steps very lightly. Once you get the hang of it, draw a dragon in your journal. Dragons have magnificent colours, the black and white is just to get you started.

I start by making an outline using basic shapes. I suggest you draw lightly so that you can erase the extra lines when you are done.
Draw three circles; make one big for the head and two smaller circles, one for the nose and one for the chin, out a little away from the first large circle, this will form the snout part of the face. Connect the circles with four lines; two lines from the nose to the large circle and two lines from the chin to the large circle.
The mane is made by drawing three letter "Cs" at the inside back of the large circle: add two lines for the top and the bottom of the mane. The letter "C" marks should touch the back of the large circle.
Give the lip and the mouth a curve.
The eye is a circle with a curved line above it and touching the top of the circle. Draw a line crossways underneath, curve it just a little, draw a line up and down in the eye make it like a letter "V" but curved a little.
Make the neck with two lines curving lines they should be wider at the bottom.
Two curved lines make the horn, and a curved line finishes the jaw.
Draw ridges along the back, shape these by drawing double letter "C" connected so they have curves.
Draw the teeth like long skinny triangles.
Erase any extra lines.
Add scales and shadows.
I did the illustration with sharpie pens and colored it with pencil.
Yes I know that the head points the other way- have fun with mirroring this.

Hope you all had a wonderful Mother's day. I certainly did and I still feel the warmth and the good vibes hanging in the air around our home. It feels so nice to be loved and appreciated. I must make sure that when I feel genuine love and appreciation for others to let them know- we don't have to wait for special days to share the light.
At school, Bubble Gum had to move into our Class Four classroom last week, due to the toilets being repaired which involved sledge hammers and that sort of thing. Not great to be trying to learn something beside that, so we moved into the sanctuary of Class 4. It felt SO good to be back in our own classroom, James and I felt as if we had come home. It also made me miss you a lot- bubble Gum is fun, but nothing like our own circle with familiar faces.
I also saw this on my desk- remember?

No novel has ever taken us as long as this one! Fingers crossed we will be back at school soon and get ready for LOTS of Dragon Rider.
Anyway, seeing the book got my juices flowing for today's task. It's quite a lot, but you're going to love it.
Step 1: Drawing Dragons.
Below is a tutorial on how to draw a Dragon's head. Give yourself a few practices and remember to sketch the first steps very lightly. Once you get the hang of it, draw a dragon in your journal. Dragons have magnificent colours, the black and white is just to get you started.

I start by making an outline using basic shapes. I suggest you draw lightly so that you can erase the extra lines when you are done.
Draw three circles; make one big for the head and two smaller circles, one for the nose and one for the chin, out a little away from the first large circle, this will form the snout part of the face. Connect the circles with four lines; two lines from the nose to the large circle and two lines from the chin to the large circle.
The mane is made by drawing three letter "Cs" at the inside back of the large circle: add two lines for the top and the bottom of the mane. The letter "C" marks should touch the back of the large circle.
Give the lip and the mouth a curve.
The eye is a circle with a curved line above it and touching the top of the circle. Draw a line crossways underneath, curve it just a little, draw a line up and down in the eye make it like a letter "V" but curved a little.
Make the neck with two lines curving lines they should be wider at the bottom.
Two curved lines make the horn, and a curved line finishes the jaw.
Draw ridges along the back, shape these by drawing double letter "C" connected so they have curves.
Draw the teeth like long skinny triangles.
Erase any extra lines.
I did the illustration with sharpie pens and colored it with pencil.
 |
This drawing lesson comes from https://drawinglessonsfortheyoungartist.blogspot.com/2012/06/how-to-draw-dragon-face-lesson-and.html?m=1
Step 2: Draw today's form drawing
First work out the shape really nicely, proportioning it harmoniously on your paper. Next, add the head using your new dragon drawing skills.Yes I know that the head points the other way- have fun with mirroring this.

Notice how you still need to weave your shape. You see that the artist has first drawn the dragon with colours and then added a touch of white to illuminate the parts the light falls on. Image which side of your paper the sun (or moon) light comes from and let the light fall onto the shape. We have done this before in class when we drew trees. Play around and try it.
Step 3: Write a story about your dragon.
You have free reign here- only two requirements are that your dragon is the main character and that your story is INTERESTING.
I am hoping for a story telling session with you all about your dragons. Preferably on a really rainy and stormy day, while we huddle around the candle light.
Bubble Peeks
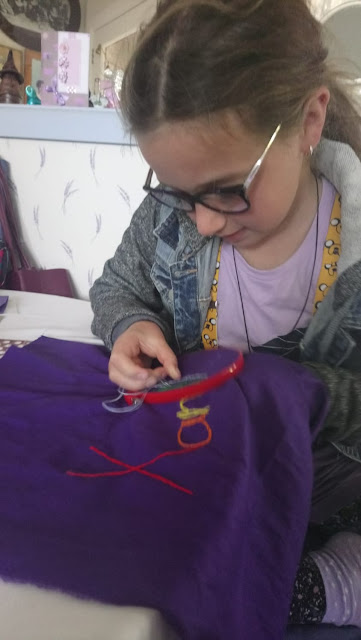
Hope you all got Janice's packages in your mail and completed your handwork- Xanthe certainly did!
 |
| The MacArthur's Castle |
 |
| Leah and her family in our stunning hills |
 |
| Someone found their green fingers talent. |


Comments
Post a Comment